How to do English Paper Piecing with the Cricut Maker

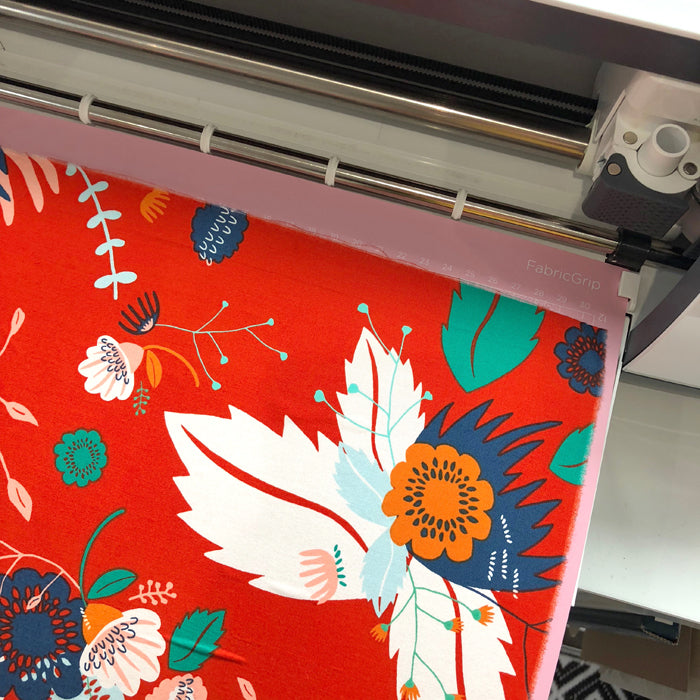
So, this zippered pouch project intimidated me on several levels, but I'm really happy with how it turned out and I'm so excited to show it to you. In true Jessica Swift fashion, I started out without a fully-formed plan. I learned the basics of how to do English Paper Piecing at a workshop recently and fell in love with it. We used a rotary cutter to cut around a hexagon shape template and I got to thinking about how perfect my new Cricut Maker would be for cutting these out more precisely than I was with my hands on the ever-shifting fabric. So I decided to try cutting both paper template pieces and fabric pieces for my project using the Cricut. There was a bit of a learning curve involved because I'd never actually cut anything with the Cricut before (truth be told it sat untouched in my studio for a couple of months because I was a little scared of it!), but it was SO easy to use! I used Adobe Illustrator to create some 1.5" hexagon shapes, uploaded the file to the Cricut Design Space, and set the machine to cut. The step-by-step instructions for how to use it were so easy to follow and in no time I had my fabric attached to the adhesive mat and loaded into the machine:

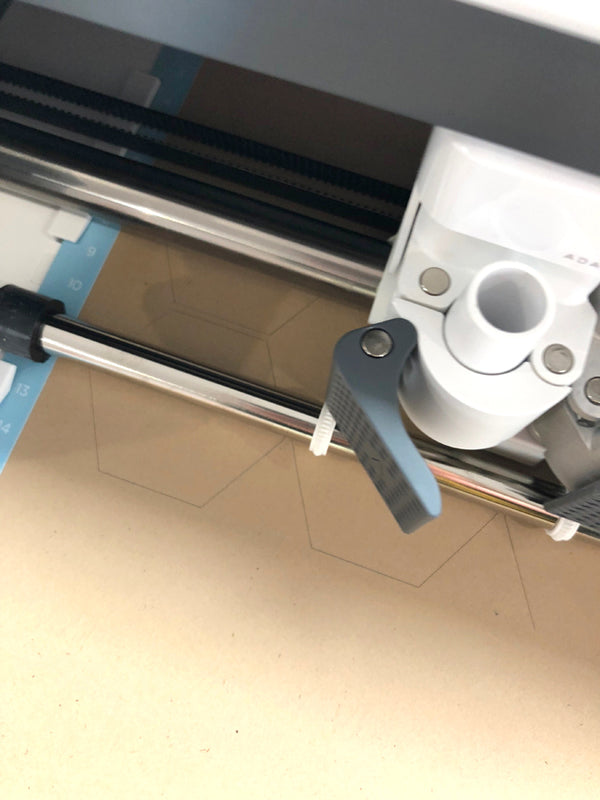
Then I simply pressed go and watched the magic happen:

The Rotary Blade that this newest Cricut cutter uses is just amazing – the cuts are perfect and the way it slices through the fabric so smoothly is just crazy. I'm excited to try it with knits, canvas, and other types of fabric after this. Cotton was a dream! I wasn't completely sure what fabric formation I wanted to use, so I just cut a bunch of hexagons from a couple different fabrics, figuring I could use the extras in another project at some point. You can't have too many adorable tiny hexagons, am I right?! Oh, and this is my Tallinn fabric line with Art Gallery Fabrics, by the way. In case you were wondering.


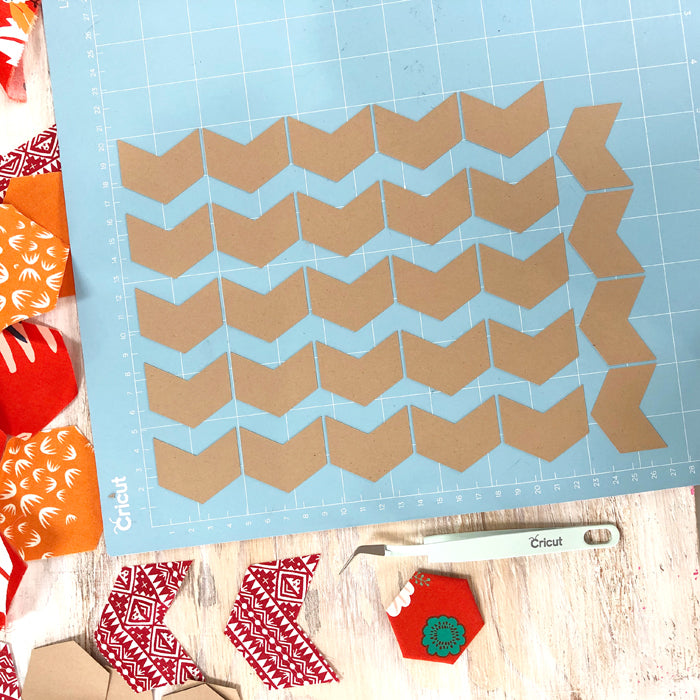
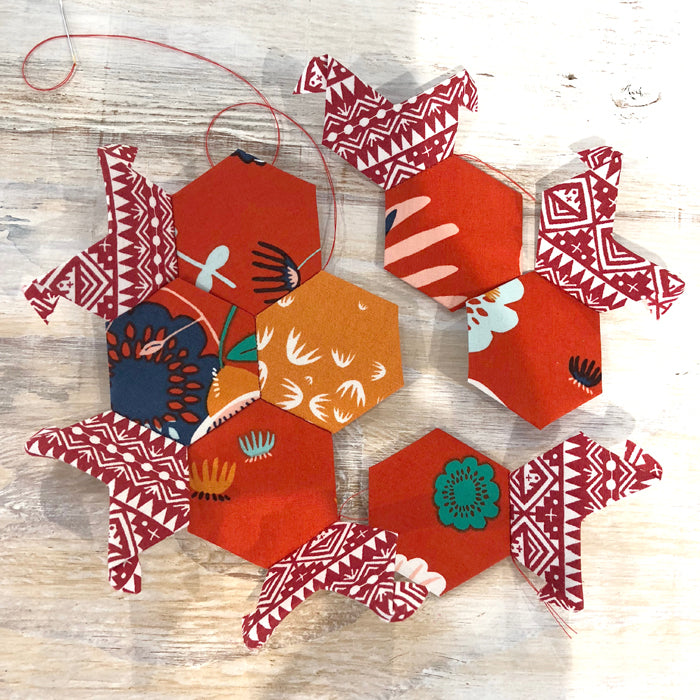
I also created that chevron shape in Illustrator (also with a 1.5" length per side, like the hexagons, so they would fit together), uploaded the file, and set it to cut in Design Space, and then I laid out my arrangement of shapes. You can see what I ended up with above – a sort of flower design. Fun! This is whenI decided I might like to attached the flower shape to the front of a pouch, too, so I cut some pouch pieces as well, which you can see in the bottom right of the photo above. My next task and next learning curve was trying my hand at some EPP (English Paper Piecing), which is a very new skill that I've learned and don't have a ton of practice with yet. I needed some paper pieces, so I had the Cricut Maker cut those for me, too:

I made the shapes 1/2" smaller than the fabric pieces (so 1' edges this time), because with EPP you basically wrap the fabric around the paper shapes and then sew them together. Cutting the shapes with the cutter was so easy!! Attach the paper to the adhesive mat, load it in, follow the instructions on my computer screen in Design Space, push the Go button, watch the magic happen. The results were perfect. Way WAY better than I would've done by hand. I'm too impatient to be this precise. ;) Next I set about hand-sewing the flower together.

I used the glue-basting method for my shapes (you can also sew-baste them) – I like the glue because I don't really care about being a purist and it goes much more quickly than basting with a needle and thread. Simply place the paper piece on the fabric, glue the edges, and voila – perfect hexagons! EPP is so fun and addictive, you guys. Have you tried it? It's brand new to me and I'm in love so far! Here are my pieces all glued up and ready to piece/sew together:

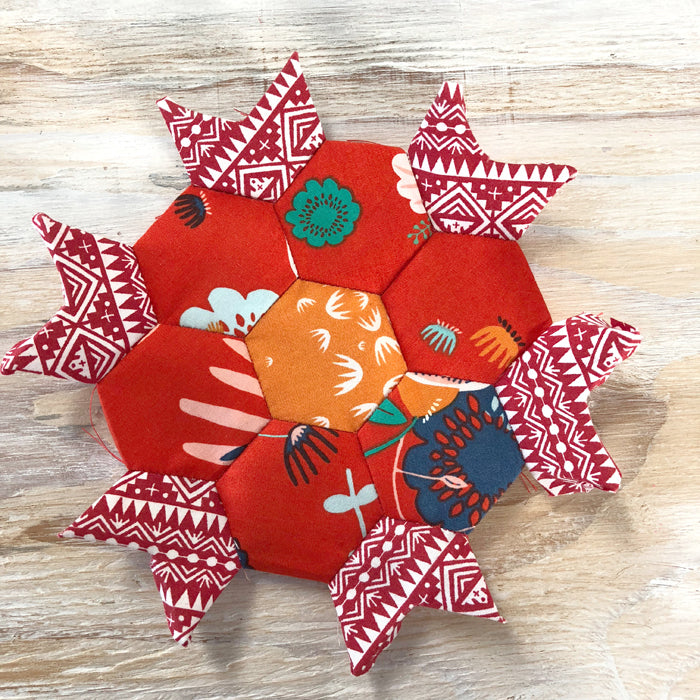
Half way through:
All done! Check it out:
And here's what the back looked like once I took all the paper pieces out:

After this I pressed it so all those loose edges were flat, so I could easily attach it to the front of my pouch:

I'm not going to go into the details of how I sewed in the zipper and how I actually constructed the pouch (it's lined!) and will instead point you to the zippered pouch video tutorial on YouTube that I used to learn how to do it. It's by Dana Willard of Made Everyday, who is a fellow Art Gallery Fabrics designer, and the tutorial is so good and easy to follow! I don't know the "right way" to attach an EPP design to another piece of fabric, so I just sewed it on with a simple stitch:

My sewing machine doesn't have any fancy appliqué stitches or anything, so I did what I could. There's also so much more to learn! Here's what the back looked like once it was sewn on, which just made me happy for some reason:

That's batting in there, by the way, to give the pouch a bit more heft. And here is the finished pouch:

I looooove it! I thought I might give it to someone as a gift, but I think I'll keep this one for myself and just start stock-piling more since I'm pretty sure I'm addicted to making these now and I think they'll make fantastic gifts. //////// All in all, the Cricut Maker cutting machine made this project so much easier, so much more precise, and so much faster to complete than it would have been had I cut all the fabric and paper pieces by hand. I cannot wait to continue exploring the incredible and wide variety of ways I can use this machine to make more work easier, more professional and precise, and more FUN! I'll share more as I go along for sure. *This is a sponsored conversation written by me on behalf of Cricut. The opinions and text are all mine.